
I never had any experience with Balenciaga prior to this Men’s Day bag. I have been extra concerned of what I’ve read about the leather being too delicate and the color being prone to fade. While I am not too keen with a brightly-colored bag, my to-go neutral tendency would do the trick.
So when I finally got this bag last week, I knew beforehand that the body of the bag has received a dye job. I might have forgotten to ask what was the original color, but judging by the color of the faded strap, it might have been gray. Again, I have no idea of these colors as I am colorblind, but my research points out that it might be a faded anthracite as well (whatever that color might be).
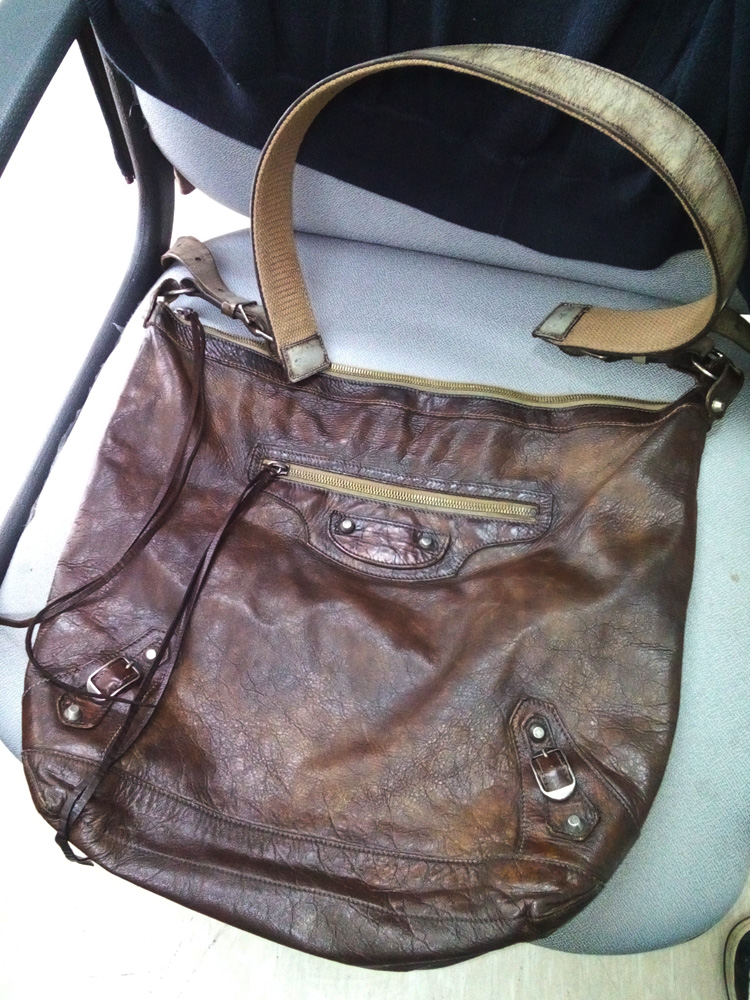
Balenciaga Men’s Day Messenger Bag before the dye job
As you can see from the belt closure on the straps below, it needs a tremendous amount of rehabilitation. The leather is different from the chèvre (goatskin) of the body (from what I have read, earlier bags use goatskin then sometime in 2007 or whenever, they began using the more delicate agneau or lambskin).
Judging by the looks of the straps below, they might have been subjected to the same dyeing process done on the body of the bag. However, given that they are 1) made of different skin (most probably cow skin), and 2) done in different finish (the grayish ones are definitely finished), they have not absorbed the dye well and had to be stripped of the color all over again. I could be wrong but that was my hunch.

Leather showing considerable wear

Straps of the first version of the Men’s Day bag
It doesn’t bother me at all. Although I must admit that the contrast between the body and the strap bothers me a little because the lather looked like it had seen better days. I have been also debating whether I should have the color change professionally done or not. But we are talking of myself, who does not back down on DIY projects. =D
I’ve then bought this leather dye, touted as ‘quick drying’. Judging by the viscosity of the liquid, it looked like it was alcohol-based. Now, I’m not too sure if I would use it on chèvre, but the hardier cow skin could most probably take it nicely.

Leather dye in cordovan
Before I started with the dyeing process, I had to prep the leather so it could take the leather dye. Frankly, I had no idea on how to go about this prepping stage, and I just Google-d for ways how to do it with things found at home. Of course, I have seen several methods, but my impatient self settled for what is readily available.
I chose to prep the leather with alcohol. The trick is to clean the leather, strip it off of anything that could prevent absorption and let it dry before applying the dye. This was a scary part because I’ve seen that on some parts of the leather, color has immediately left. I had a mini heart-attack. But the idea of leaving it as it is annoyed me, so I just went on with the program.
I only asked for brown because, well, the bag is brown. They gave me this ‘cordovan’, which according to Wikipedia is “a rich shade of burgundy and a dark shade of rose”. It just looked very dark brown to me to the point that it seemed black.

Before and after of the belt closure mechanism
I first started with the inside part of the belt closure, as it was the hidden part. If I would mess up badly with this, I could stop and it would remain hidden. I initially used those paintbrushes, but I noticed that even with the first coating, I did not enjoy striated strokes on the quickly drying dye. I then resorted to sponges, as I thought that they could distribute the dye better.
It was really quick drying, but I had to leave it for a couple of minutes before buffing it with a soft cloth to remove dried dye particles. After this, I proceeded with the second coating which made the leather look better.
I also had to condition the dyed parts after. If left unconditioned, they could look dried and brittle. I used coconut oil on cotton tips to thinly spread the liquid on top of the leather. I’ve allowed it to settle for a few minutes, before buffing the excess with a soft cloth. I had to buff it several times to make sure that there’s no residue left (i.e. once the cloth shows no sign of brownish stains).

Before and after of the adjustable leather parts
While waiting for the belt closures to dry, I prepped the strap with the holes. I did the same thing all over again and I was happy with the results. It took the dye perfectly, and I love the rich chocolaty color.

Slightly blotchy even after the second coating
The most dreadful part of the dyeing process was the long stretch of leather with the Pewter Hardware. You could potentially mess up with the belt closures and the leather with the holes, and still be fine with it. But when you mess up with this long piece of leather, it would be the most obvious evidence of a failed project.
I know I should have covered the hardware before doing the dye job. However, they are already smooth to begin with (and not the texture Giant Hardware), that I could just lightly scratch them with my fingernails afterwards. I was also careful not to mindlessly dye this portion, because there was a canvas strap underneath.
I initially did two coating, but it seemed to be not enough. I just found out the morning after under natural daylight that it was still blotchy on some parts. I did a third coating near the light of the window to see the funky areas. Lesson learned: always try to do dye projects during daylight to see true-to-life colors.

Looks very chocolaty brown

After finishing the dye job on the strap
And finally, this is how the bag looked like with the newly-resuscitated brown strap! It was now considerably better than the stained grayish one when I had first gotten it.

Finished product!
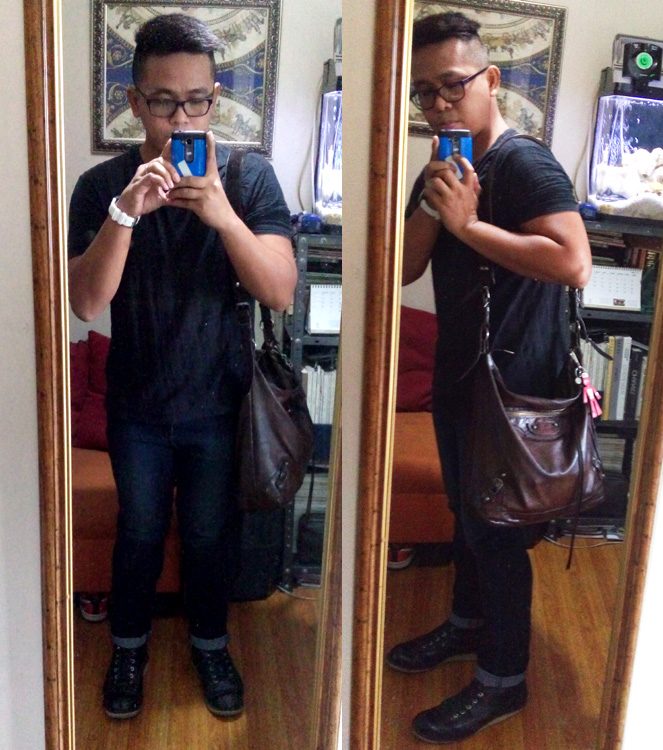
Helmut Lang textured T-shirt, skinny jeans, Red Wing 2913 boots and Balenciaga Men’s Day messenger bag
I had only used half of the bottle, and I’m hoping that I would no longer be needing it again. I had been running my hand on the strap to check of staining but there was none. I even tried touching it with slightly damp hands to make sure that no brown would end up on my skin. That was a normal quality check, I guess.
Congrats for reviving the Balenciaga bag! Cool. Im amazed with the 2913 boots!
Thanks a lot! Good thing the dye job is holding well. =D
Hello, where did you buy your leather dye? And what brand is it? I would like to use it in my leather shoes. Thank you
Hi! I bought it from a leather supply store in Marikina. But you can also go to SM Megamall for leather dyes. There is Heel, Sew, Quik there where I also bought some. A bit pricey but they are one of the best.